To shop for parts: Click the tab marked SHOP near the top of any page to visit SV3Power.com/store/.
Ever since I put my 7A-GE together, I cursed the distributor. Since converting to MegaSquirt, there was nothing requiring me to keep the distributor, and several reasons I wanted it gone. In order from least to most important:
1) Inner seal was starting to leak and bearing felt a little crunchy
2) All the distributors I’ve had have slightly bent shafts
3) Cap and rotor require periodic replacement
4) Ignition timing unsteady at low RPM due to gear lash between exhaust cam and distributor
5) Could not adjust exhaust cam timing without resetting ignition timing
Early in 2008, I’d already converted the car to crank trigger using a Ford Escort 1.9 trigger wheel and VR sensor. This required removing the trigger wheel from the Escort pulley and welding it to the front of the 4AG crank pulley, and building a bracket to hold the crank position sensor (VR sensor), which then bolted to the oil pump. Setting the crank trigger up was easy enough. Aligning the wheel on the pulley was no problem since the trigger wheel’s inside diameter is nearly the same as the ID of the 4AG crank pulley. I also cut two grooves in the trigger wheel to highlight TDC and 10*BTDC and filled them with yellow paint (should have snapped some pics of that). Once it was all back in the car it was a simple matter of changing some settings in MegaTune to read a 36-1 wheel rather than the 4-vane trigger in the distributor. At that point it had crank trigger, but the distributor was still there, still using the stock coil to generate spark and still using the cap and rotor to distribute that spark.
Awhile after converting to crank trigger, a friend and I snagged some parts at a local junkyard and finally got rid of the distributor once and for all. I made up a simple bracket out of 1″ and 1/2″ square steel tubing to mount the Ford EDIS coil right where the distributor had been bolted, then added a small heat shield to keep the header from baking the bottom of the coil with radiant heat. The distributor hole was filled with a rubberized plug from a ’99+ Camry 5SFE (part number 90339-36001), since they also had a hole in the cylinder head where the distributor had been in earlier modes. Since the coil pack is really two coils in one I had to add a second coil driver to the MegaSquirt box and run a new wire to the coil, then add a simple tach driver (three diodes) to allow the tachometer to read both coils.
My friend and I snagged the coil pack and spark plug wires from a 4-cyl Ford Contour. The Contour plug wires wouldn’t engage the plugs (they’re recessed on a 4AGE), so I removed the EDIS boots and terminals from the Ford wires and installed them on some old Mallory 8mm plug wires I had hanging around. Granted, the rest of the engine is filthy and I never did finish painting the valve covers, but here is the result. Lots of spark, smoother idle (due to steadier spark timing), and no more distributor problems to deal with.
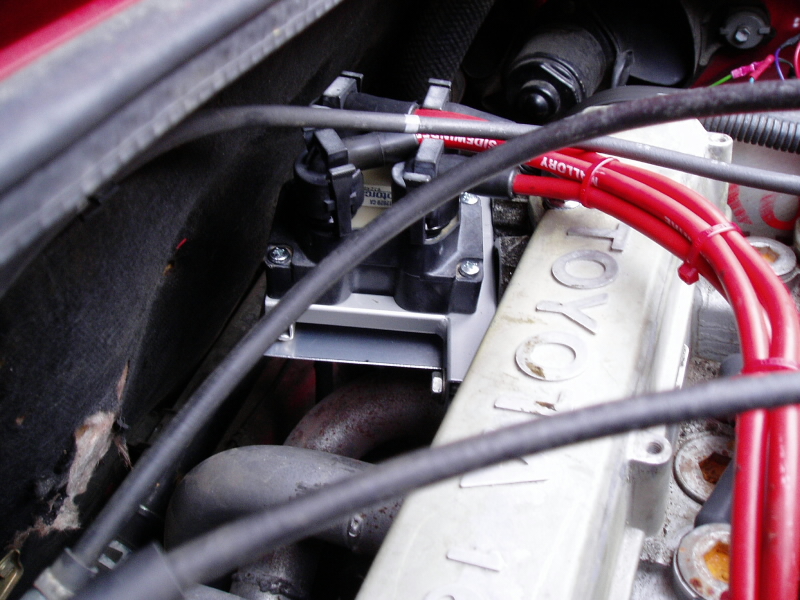
Here is the coil on its bracket. You can see the heat shield below it.
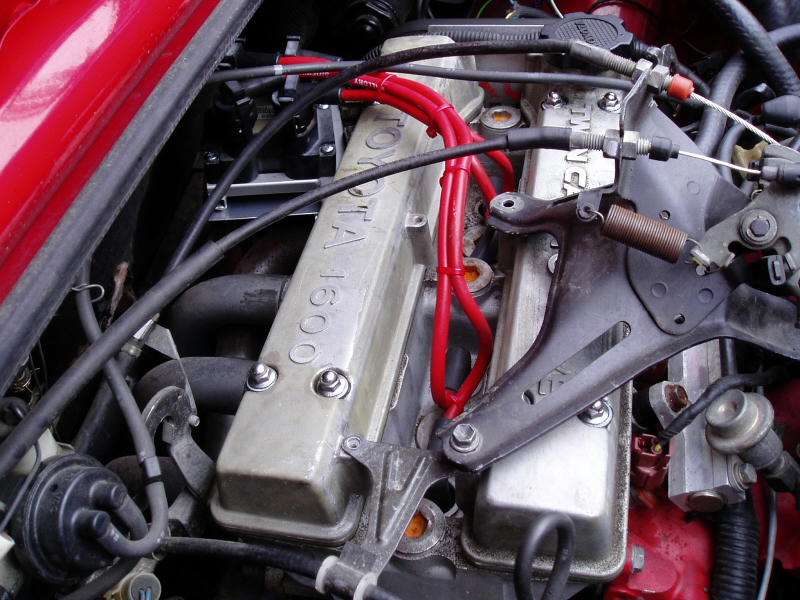
Wider shot of the plug wires and overall layout.
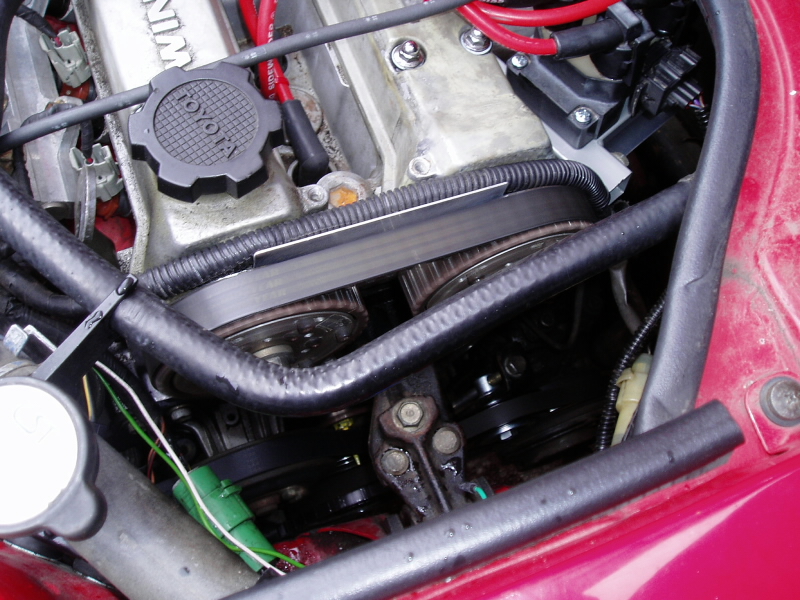
Different angle showing the coil bracket bolted to the engine. Still a little wiring to be cleaned up but at this point it’s running and reliable.
This is one of the best modifications I made to this car. It’s really nice being able to adjust cam timing without resetting ignition timing, and that rock-steady idle and low-speed drivability are real improvements.